Adding an external account to Digital Banking at First Tech allows you to quickly and securely transfer money between financial institutions. Let’s say you want to pay your First Tech auto loan by using your checking account at a bank. You can log in to First Tech’s Online Banking platform and set up the transfer without having to login to another bank.
If you are on a mobile device, checkout our how-to guide to get started adding an external account using your mobile device.
If you use Plaid IAV (Instant account verification) you can use our how-to guide for Plaid.
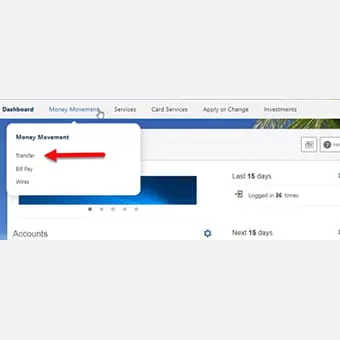
Step 1
Login to Online Banking and navigate to the Transfer feature

Step 2
“Add an account” within the “From Account” drop down. Now select “Manually Add an External Account” from the options provided.
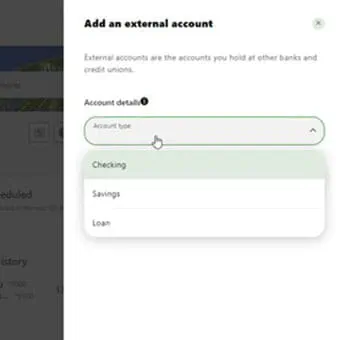
Step 3
Select the Account type of the external account. You can choose from Checking, Savings, or Loan. Enter the routing number of the financial institution where the account is held. This is usually a 9-digit number. Enter the account number of your external account twice to confirm and add a nickname for the account for your reference.
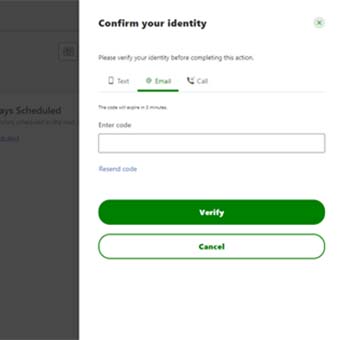
Step 4
You will need to verify your identity with two-factor authentication. Complete this step to proceed.
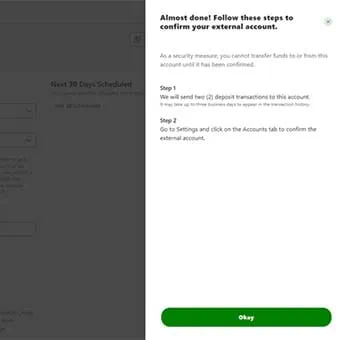
Step 5
Confirm your external account by initiating the micro deposit process. You’ll receive an email to notify you of the pending request to add an external account.

Step 6
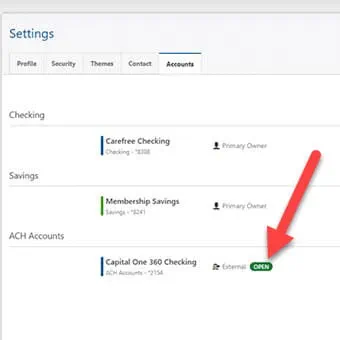
Within 3 business days, two micro deposits will be sent. Navigate to Settings then Accounts to confirm these deposits.
Step 7
You’ll see an on-screen dialog box that confirms the external account was added as well as email confirmation. The external account has been added and is ready for use.