How to set up two-factor authentication
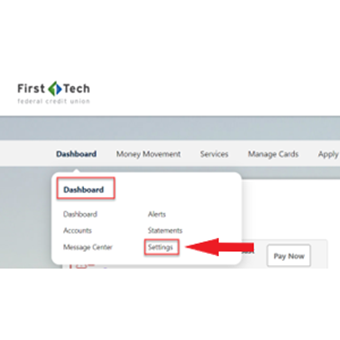
Step 1
Log in and select Settings under Dashboard.
Step 1 of 4
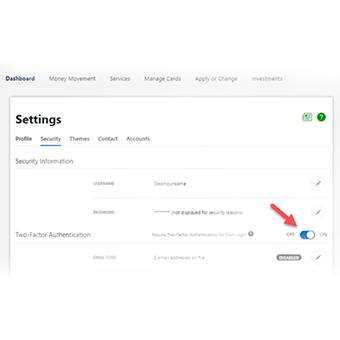
Step 2
Go to Security and toggle the switch to ON for two-factor authentication. Two-factor authentication will be required for every future login attempt.
Step 2 of 4
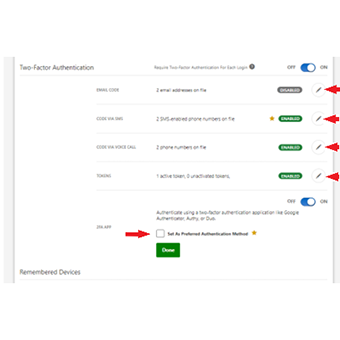
Step 3
Click on the pencil icon next to the type of code you’d like to enable and confirm the contact information. Set one of these as your preferred authentication method and then click on Done.
Step 3 of 4

Step 4
You will need to complete the two-factor authentication process to save the contact information.
Step 4 of 4